It is important to note that the Autoimmune Protocol (AIP) diet isn’t over after your elimination stage. The next step to consider is the reintroduction in which you cautiously return food items to determine what your body’s reaction. This article will walk users through AIP reintroduction food stages and will explain the foods to test during each stage and how you can take your time when preparing to help you on your long-term wellness and healing process. Knowing the AIP reintroduction food stages is crucial to identify the foods that your body can tolerate and which foods can cause symptoms, so that you can create a healthy diet that meets your requirements.
What is the AIP Reintroduction Phase?
The AIP Reintroduction Phase is the second stage in AIP. It is the second major phase of Autoimmune Protocol. Following the strict elimination phase–in which you’ve eliminated any potentially allergens that can trigger inflammation — the following step involves gradually introduce certain foods in order to assess your body’s reaction.
The main objective of this phase is to determine which foods cause symptoms or inflammation and which are safe to eat in the future. This approach is customized to help you create an enduring and healthy diet.
Reintroductions should only be initiated when your symptoms have dramatically stabilized or improved. It’s because your health baseline should be as clear as it can be to be able to identify any reactions.
Understanding the AIP Reintroduction Food Stages
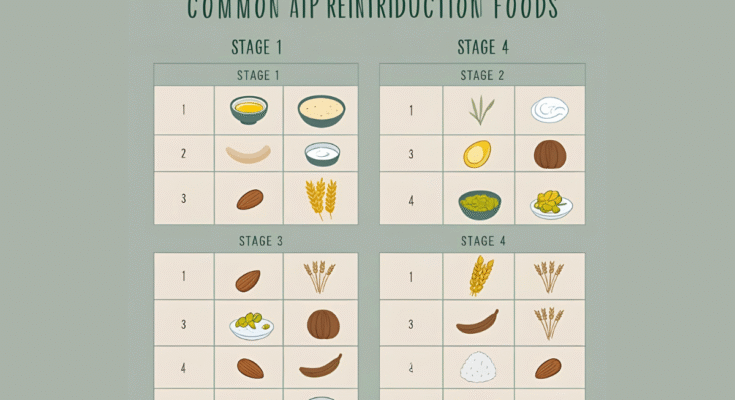
These AIP reintroduction stages of food have been designed to examine your body’s reaction to different food groups beginning with the ones that are least likely to trigger reactions, and moving to the ones that are most likely to cause inflammation. When you carefully follow these stages it gives your immune system time to adjust and learn valuable information about your own tolerance to food. Each stage is focused on a particular set of foods you introduce one at a time by monitoring your symptoms.
Stage 1 – Lowest Risk Foods
It is also where the majority of people start. Stage 1 contains foods that are least likely to trigger symptoms of autoimmune and are often of substantial nutritional value.
Examples of Stage 1 Foods:
- Egg yolks (from chickens raised on pasture)
- Ghee (clarified butter)
- Spices made from seeds (like coriander, cumin, and Fennel)
- Legumes that have eating pods (green beans, peas)
- Fruit-based spices (vanilla and black pepper)
Tips for Stage 1 Reintroduction:
- Begin with small quantities (e.g., half one teaspoon of Ghee)
- Keep track of your symptoms up to 3-7 days before transitioning onto the next meal
- Make sure meals are simple so that there is no confusion regarding reactions
Stage 2 – Moderate Risk Foods
After you’ve introduced foods from Stage 1 successfully then you’re ready to move on to Stage 2. They have a slight chance of causing inflammation, however they’re generally tolerated.
Examples of Stage 2 Foods:
- Eggs in whole form (including eggs with egg whites)
- Seeds, nuts, and nuts (almonds as well as sunflower and pumpkin seeds)
- Butter that is fed grass (if not done by the first stage)
- Alcohol is used to cook (e.g., wine in sauces)
Important Notes:
- One of the seeds or nuts at one time
- Seeds should be soaked or sprouted to aid in better digestion
- Look out for any reactions that are subtle, such as skin changes, fatigue, or swelling
Stage 3 – Higher Risk Foods
This is the time to begin with foods that are more likely to cause an autoimmune flare or digestive upset. They should be handled with caution and only after your body has adapted to the Stage 1 and 2 food groups properly.
Examples of Stage 3 Foods:
- Dairy products that are fed on grass (yogurt, aged cheese, kefir)
- Nightshades (peeled white tomatoes, potatoes, and eggplant)
- Gluten-free grains (rice, Oats, buckwheat, and rice)
- Cocoa (unsweetened pure)
Be Extra Cautious With:
- Dairy items (introduce one kind at a time)
- The Nightshades (watch for joint fatigue or joint)
- Grains (test cooking versions first)
Stage 4 – Highest Risk Foods
They are the most likely to cause symptoms and should be only tested after you’ve successfully reintroduced food from the previous stages. Certain people might opt to stay clear of these for the long term.
Examples of Stage 4 Foods:
- Gluten-containing grains (wheat, barley, rye, wheat)
- Processed oils from seeds (canola and soybean)
- Processed sugar
- Highly processed food items (store-bought snacks and fast food)
- Alcohol (in the fullest form and not cooked off)
Advice for Stage 4:
- Introduce only when you feel free of symptoms for a few months
- Take a look at whether these foods are worthy of testing
- Make a plan in case a food triggers flare-ups
How Long to Stay in Each AIP Reintroduction Phase Stage
There isn’t a set schedule. Each stage will be between a couple of weeks and a few months depending on the body’s reactions and capacity to endure.
General Guideline:
- At a minimum of 5-7 days between food tests
- If you are experiencing symptoms, then put your foot down and wait until the baseline is restored before attempting again
- Journaling is essential
This stage is not about speed, but rather discovering the way your body reacts so that you can create an enduring diet.
Tips for Reintroducing Foods Successfully
Being successful in navigating the AIP reintroduction food steps requires a lot of patience and meticulous monitoring. Here are some important tips to help you navigate the process:
-
Try only one food at a throughout each stage in the AIP reintroduction food stages to identify any reactions.
-
Begin with small amounts, and increase gradually to avoid overstressing your system.
-
Repetition eating the food several times over the course of a few days, while watching for the symptoms change.
-
Maintain a thorough journal that records the foods you have tested in the amount, quantities, and any signs that you notice in AIP reintroduction. AIP reintroduction food stages.
-
Avoid mixing food items during testing stages to ensure that reactions are clear and simple to trace to the exact stage or food.
Final Thoughts on AIP Reintroduction Phase Stages
It’s not easy to navigate the AIP reintroduction stages of food may be slow however, it’s among the most rewarding aspects of your healing process. When you carefully move through each step, you’re not just getting rid of triggers, but also reestablishing a varied healthy, nutritious diet that is supportive of your immune system health. Take advantage of the process and keep in mind that every person’s experience through AIP reintroduction food stages is distinct.
FAQs
Q1 What is the length of each AIP phase of the reintroduction run?
There is no specific time. A majority of people will spend months or weeks during each stage, based on the body’s reaction. It’s better to take it slow instead of rushing and missing an opportunity to react.
Q2: Can I skip stages if I feel fine?
It’s not advised. Even if you’re feeling well, certain foods can trigger unintentional inflammation. The staged system was designed to limit risk and confusion.
Question 3: What happens if you react negatively to something that happened in the first stage?
That’s okay! Just stop eating and go back to your baseline of elimination until the symptoms go away. It is possible to try it again after a couple of weeks or even months.
Q4 Do I need to bring back all my food items?
No. The aim is to introduce foods that you like and would like to have to eat in your daily life. It’s not necessary to test everything, especially if satisfied with your current lifestyle.


